Managing Cameras
Grouping Cameras
Grouping in camera management provides the ability to organize and categorize cameras based on common characteristics or functions, streamlining administrative tasks. This feature is especially beneficial for organizations managing a large number of cameras, enabling them to maintain control and oversight with greater ease.
Creating Groups and Subgroups
You can create groups or subgroups and assign your cameras to these categories for simplified management by following the steps below:
- Click the blue plus icon located in the upper right corner of the Groups window to open the New Group Modal.
- Enter the desired name for your new group.
- If needed, provide a description for your group.
- If this group is intended to be a subgroup within a parent group, please select the relevant parent group accordingly.
- Lastly, you can add tags to your group to provide descriptions and facilitate the easy management of your newly created group.
- Click Save button to create your group.
Editing Groups
To make edits to existing groups, you can easily do so by clicking the ellipsis icon next to the group and selecting the Settings button. In the subsequent window that opens, you will have the option to modify the name, description, parent group, and tags of the group.
Assigning Cameras to Groups and Subgroups
To assign your cameras to groups with ease, follow the steps below:
- Click the green pencil icon situated in the upper right corner of the "Groups" window to access the Editing Groups page.
- If you need to reorder your groups, simply drag and drop the group you wish to edit within the Group Hierarchy window and then click the Save List button.
- Select the group to which you want to add cameras.
- Drag the cameras from the Cameras window on the right and drop them into the middle window with the group's name.
- To remove a camera from a group, drag the camera from the middle window, which displays the group's name, and drop it back into the Cameras window on the right.
- After completing the grouping, click the Save Group button at the bottom.
- If you wish to add cameras to other groups, repeat steps 3-6.
- Once you've finished the grouping, click the Back to Cameras button at the top left to return to the Cameras page.
- Click on the group name listed in the Groups window to view the cameras that belong to that group.
Deleting Groups and Subgroups
To delete a group, simply click the ellipsis icon next to the group and select the Delete Group button.
If a group contains subgroups, it's important to note that you must delete the subgroups first before you can proceed to delete the parent group.
Renaming a Camera
- Click the ellipsis icon located next to the camera name.
- Click on Edit in the displayed menu.
- In the Edit Camera Modal, modify the name in the Camera Label field.
- For IP Cameras, you can also edit the camera's URL.
- After making the desired changes, click the Save Changes button to update the camera's name.
This option is only available in the Web App.
Removing Cameras
On Web App
- To remove a single camera;
- Click the ellipsis icon located next to the camera name you wish to remove.
- Click on Remove in the displayed menu.
- In the Confirm Camera Romve Modal, click the Remove button.
- To remove multiple cameras;
- Check the boxes next to the cameras you want to remove.
- Click the ellipsis icon located at the top right of the tab.
- Click on Remove Selected Cameras in the displayed menu.
- In the Confirm Camera Romve Modal, click the Remove button.
On Client
To delete a camera on the Client, click on the trash icon under the Actions Column, and then select Delete on the modal that appears.
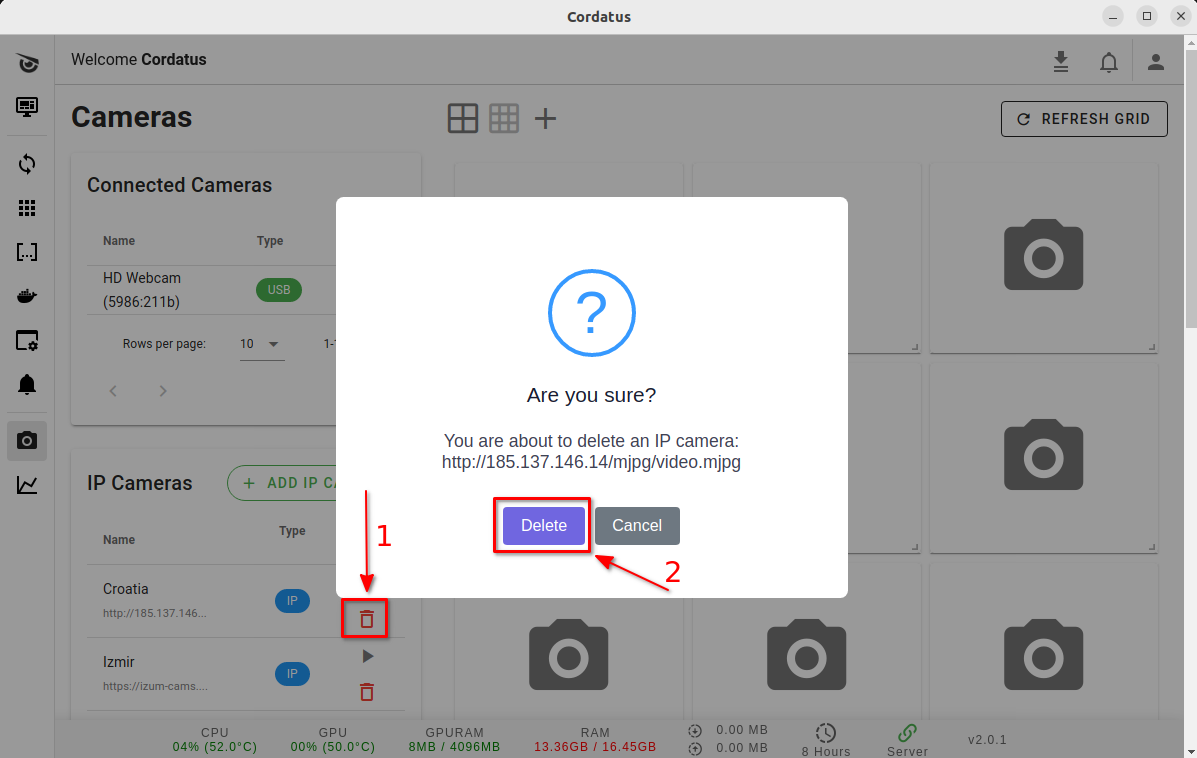
Removing multiple cameras simultaneously is currently not available in the Client.
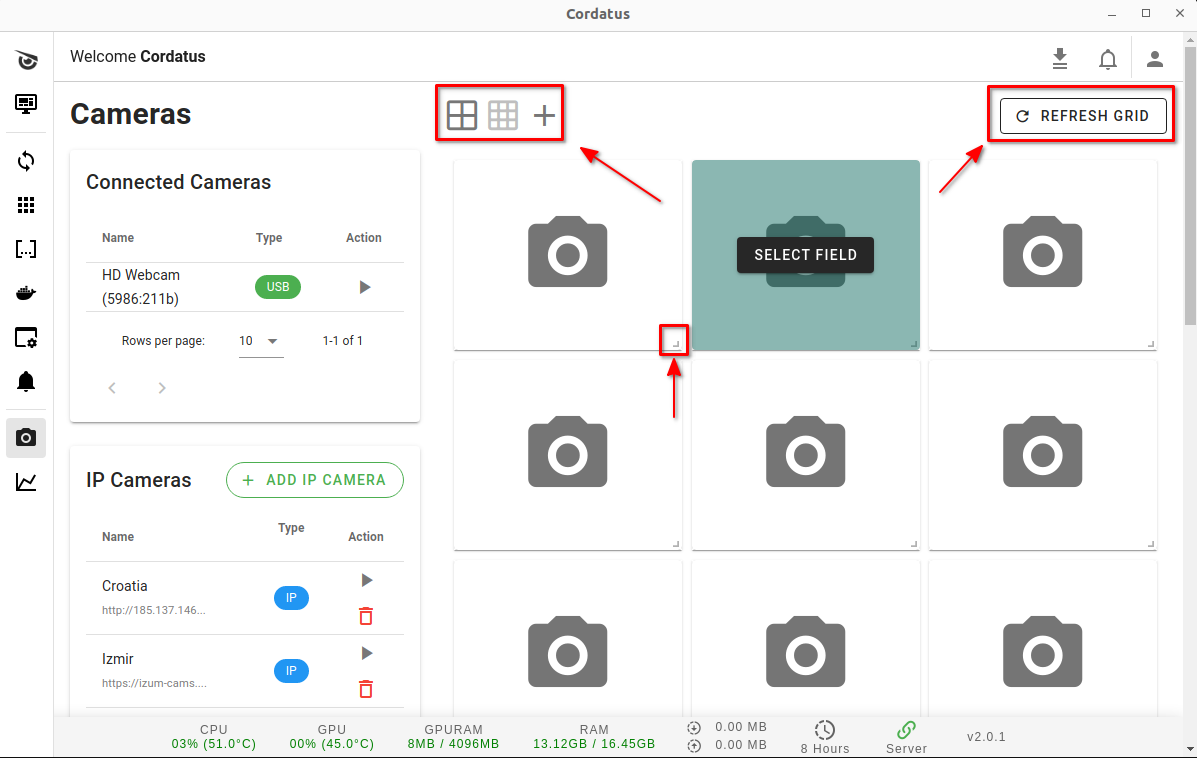
Manipulating the Video Management Tab
On Web App
The Video Management tab on the Cameras page provides several features to enhance your stream viewing experience:
- Drag and drop streams to rearrange their order.
On Client
On the client, you can utilize similar features with slight changes on the interface.
Customizing Video Quality for Physical Cameras
For USB and CSI camera streams, you can customize the stream quality by following these steps:
- Click on the ellipsis icon under the actions column in the row of the desired camera.
- From the menu that opens up, select Set Camera Settings.
- Choose the desired resolution from the available options and click Apply.
Once the resolution is set, the settings will be stored and the camera will start with the selected settings until it is changed again.
Additionally, you can customize the stream quality during the streaming process by following these steps:
- Click on the Stream Settings icon located on the bottom right of the stream.
- In the modal that appears, choose the desired resolution setting from the dropdown menu for your camera.
- Click Apply to implement your chosen settings.
Your selected settings will be stored and applied to your camera for future uses.